The standard size of 93 × 25 mm that is found everywhere only corresponds to the most common nameplates in collective housing. Creating a custom label for a mailbox first requires measuring the actual housing of the nameplate, then choosing a suitable medium for the exposure of the box. Here we detail the technical points that make the difference between a label that remains readable for several years and paper that fades in a few months.
Standards NF D 27-404 and NF D 27-405: what they change for your label
The distinction between indoor and outdoor installation conditions the entire creation process. The standard NF D 27-404 governs mailboxes located in a hall or enclosed space, while NF D 27-405 concerns outdoor installations, directly exposed to UV rays and weather conditions.
For an indoor box, laser printing on coated paper is sufficient in most cases. The nameplate protects the sheet from ambient moisture. In contrast, for an outdoor box, we recommend a self-adhesive PVC support or a laminated adhesive film, resistant to water and ultraviolet radiation.
Another often overlooked point: in collective installations subject to accessibility requirements, at least 30% of the boxes must have their nameplate located between 0.90 m and 1.30 m from the ground. This does not affect the file itself, but it requires checking the actual height before choosing the font size. Text that is perfectly readable at eye level can become unreadable at 0.90 m if the body is too small.
We have compiled useful specifications for designing a printable mailbox label on Mon Blog Habitat, including templates suited to each type of nameplate.
Print file: template, margins, and resolution
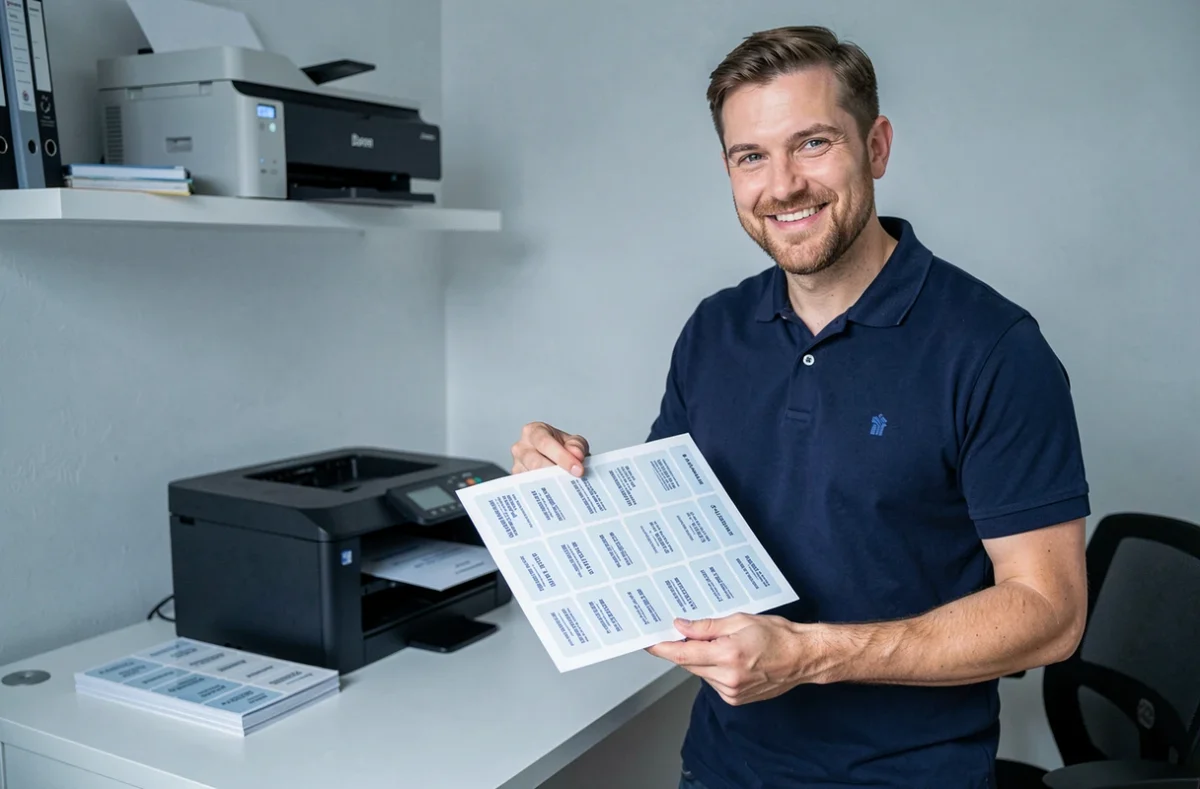
The majority of printing errors come from a poorly configured template. A Word document or a PDF with margins that do not match the nameplate produces truncated or off-center text, visible only after cutting.
Create the template with the correct dimensions
Measure the nameplate with a ruler, not by eye. Dimensions vary from one manufacturer to another: some individual boxes accept wider formats than the standard 93 × 25 mm. Set up your document with these exact dimensions, adding an inner safety margin of about 2 mm on each side.
- Minimum resolution: set your software to 300 dpi if you are integrating a logo or pictogram. Below this, the printed result will be blurry, especially on glossy PVC media.
- Sans-serif fonts (like Arial, Helvetica, Roboto): they remain more readable in small sizes than serif fonts, especially from a distance.
- Text body: a minimum of 10 points for the name, 8 points for secondary information (apartment number, floor). Below this, the factor will struggle to read.
- Export format: prefer vector PDF over JPEG, which compresses text and generates artifacts on fine letters.
Information hierarchy in shared housing
When several occupants share the same box, the names appear on the first line and the apartment number or floor on the second. Reducing the font size to fit all names on a single line is a false good idea: the text becomes unreadable, and the mail ends up as “NPAI” (no longer at the indicated address).
If space is really tight, use the initials of the first name followed by the full last name. “J. Dupont / M. Martin” remains more readable than “Jean Dupont Marie Martin” compressed in size 6.
Printing medium: paper, PVC adhesive, or engraving
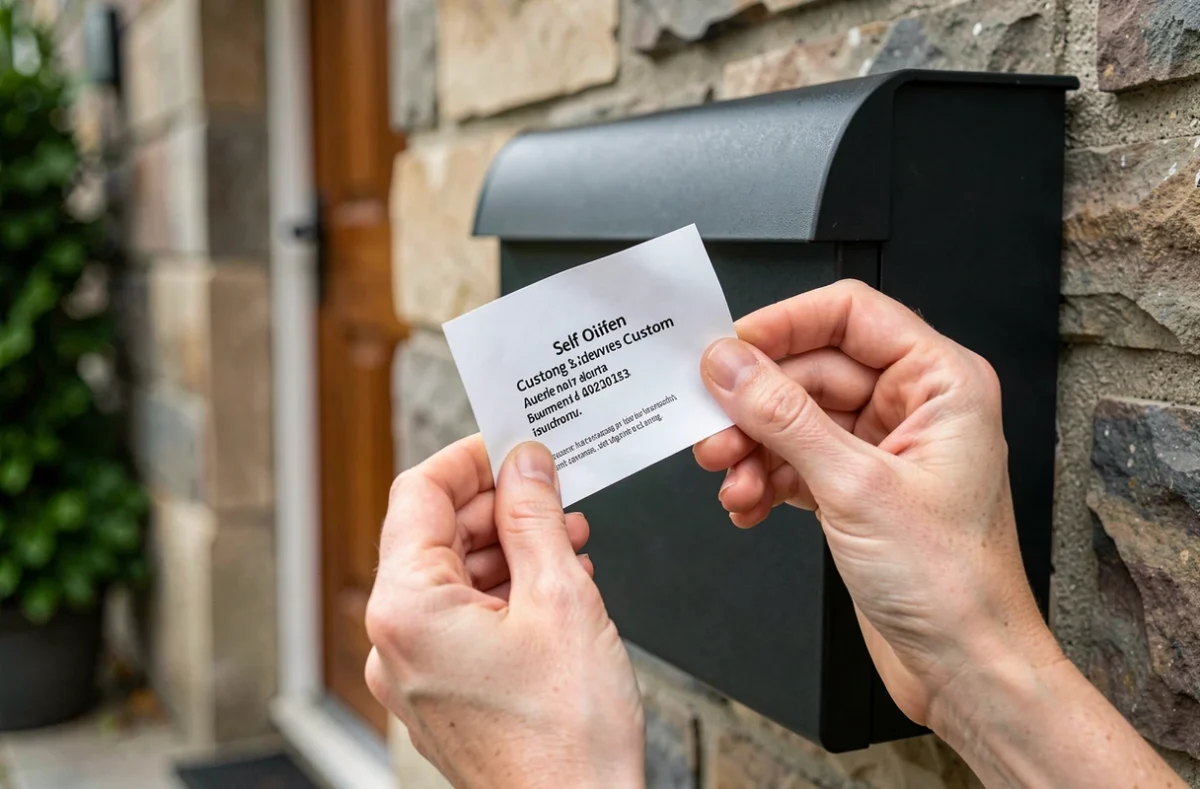
The choice of medium determines the lifespan of the label more than any other parameter. Here are the three main options and their use cases.
Printed paper remains the fastest solution. A desktop laser printer and sufficiently dense coated paper will suffice for an indoor box. The result is clean but does not withstand water or repeated friction. Expect to replace the label in a few months.
PVC stickers provide the best compromise for most situations. Printable on a vinyl-compatible inkjet printer, they withstand the elements if a transparent lamination film is applied over them. This type of medium is easily found in pre-cut A4 sheets or rolls.
Engraving on a plate (engraved PVC, anodized aluminum) offers maximum durability. It requires an online configurator or a professional engraver. Engraving is the only medium that does not fade under prolonged UV exposure. However, any change of occupant requires ordering a new plate.
Software and tools to customize the label
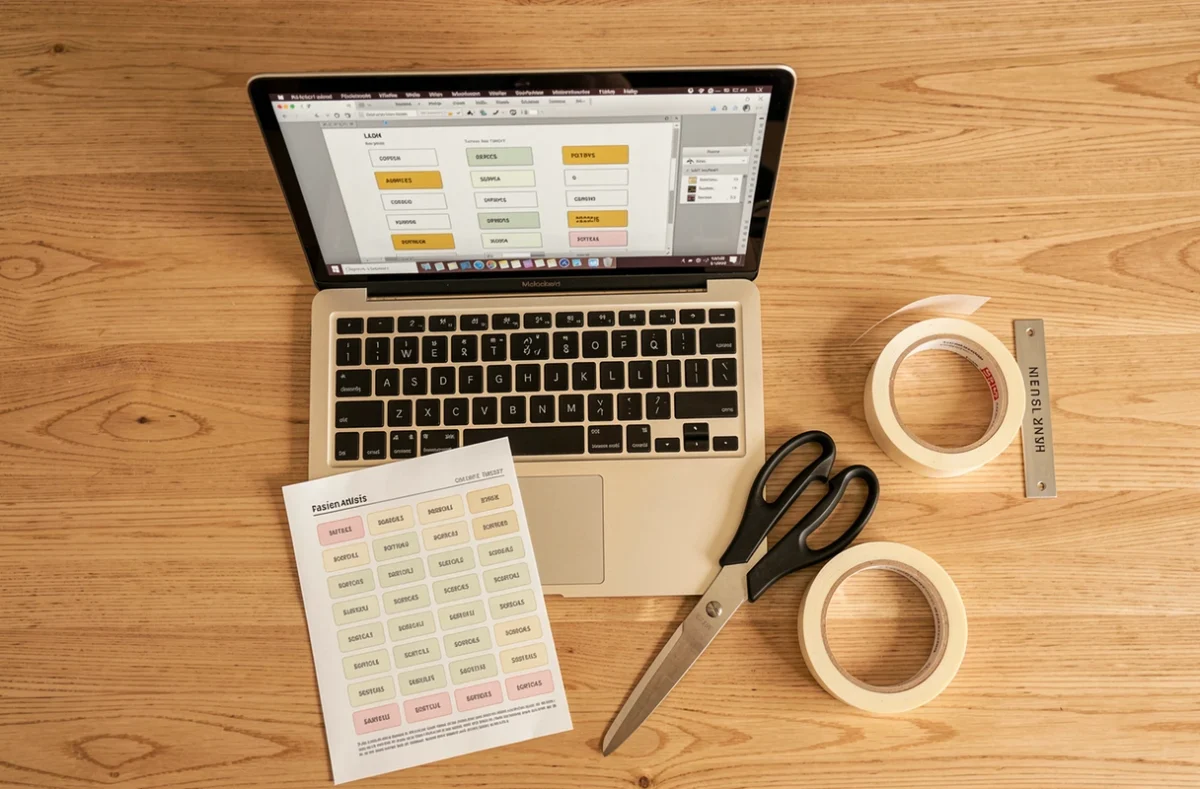
Canva, the online editors of plate manufacturers, and the “Labels” module in Word cover almost all needs. The choice depends on the level of customization desired.
Word (or LibreOffice Writer) is suitable for a simple text label. The “Mailings > Labels” menu allows you to set custom dimensions. We recommend creating a custom format rather than selecting an Avery template that may not correspond to your nameplate.
The online editors of plate manufacturers (Otypo, Plaque Rapide) offer real-time previews with font selection, logo addition, and engraving simulation. They export a print-ready file or directly transmit the order to the engraver.
Canva works well for graphic labels (pictograms, colors, illustrations). Be careful to export as PDF for printing and not as PNG, to maintain text sharpness.
Printing and application: the mistakes that ruin the result
A well-designed label can fail at the last step. Two errors consistently occur.
First error: printing an inkjet file on PVC with a laser printer, or vice versa. Inkjet inks do not adhere to laser-treated PVC, and vice versa. Check the compatibility between the medium and your type of printer before purchase.
Second error: sticking a sticker on an uncleaned surface. Dust or residual grease prevents the adhesive from holding. A wipe with isopropyl alcohol on the nameplate before application is enough to ensure lasting adhesion.
The question of displaying the name remains optional: there is no general legal obligation to write one’s name on the mailbox. However, its absence complicates mail delivery and can lead to systematic returns, especially for registered mail.